How to Build a Realistic FinTech Login Flow in ProtoPie Without Writing a Single Line of Code
Tutorial 1 of 4 — FinTech Prototyping with ProtoPie


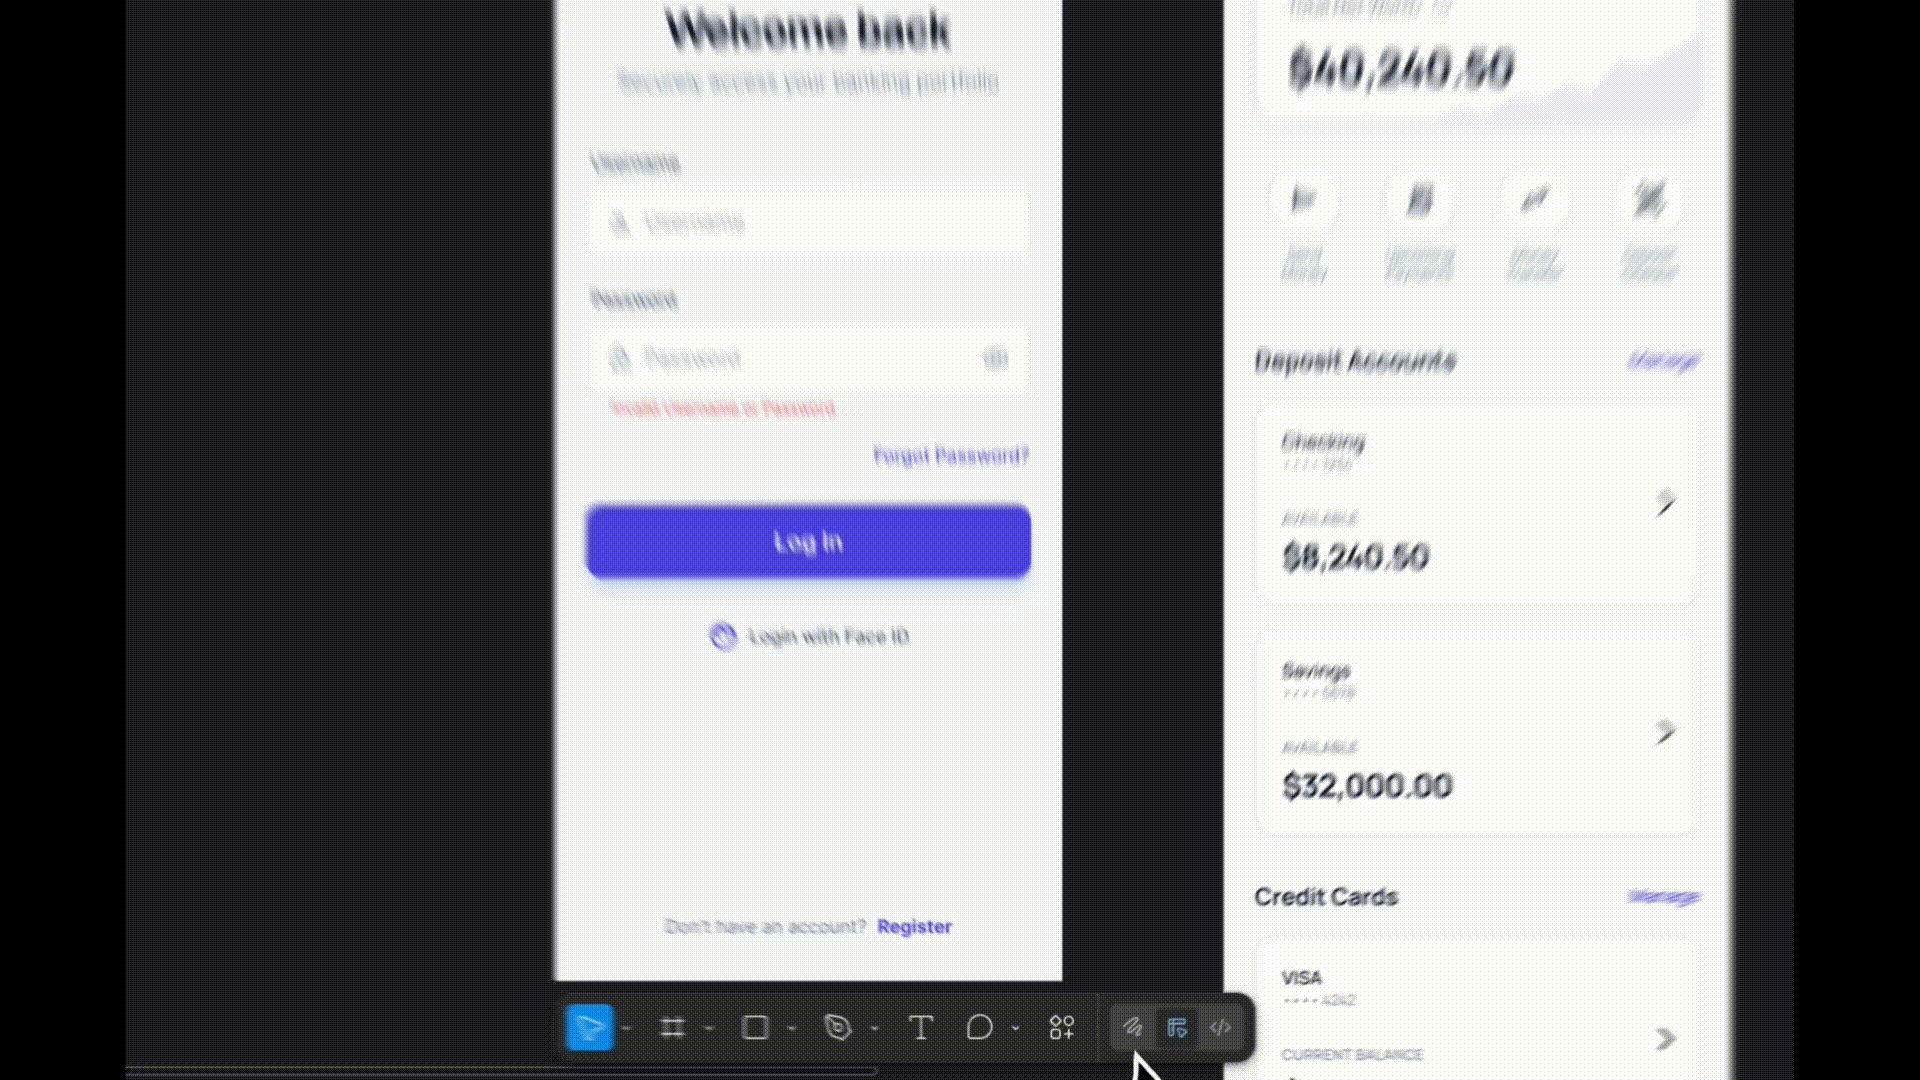
Most prototype login screens are a shortcut. You tap a button, the screen changes, and everyone agrees to pretend the credentials mattered. The problem isn't aesthetics — it's that a faked login produces faked feedback. When test participants know the interaction isn't real, their behavior shifts and the data you collect shifts with it.
This tutorial builds the real thing:
- Functional text input
- Masked password field
- Conditional logic that validates actual credentials
- Live error state
- Face ID animation timed to feel native.
The result is a login flow indistinguishable from a shipped product, built entirely in ProtoPie, no code required.
Prefer to learn by watching? The full tutorial video walks you through every step in real time.
More of a read-and-execute type? Use both, the video for context, this guide for the steps you'll want to revisit.
What you'll need:
- Your login UI imported from Figma or preferred UI tool
- A Lottie file for the Face ID animation (used in this tutorial)
- ProtoPie Studio desktop app
Prefer to explore a finished build first? The Chapter 1 prototype file is available to download at the end of this tutorial.
Step 1: Import Your Login UI from Figma and Keep Your Layer Structure Intact
In Figma, open the plugin panel, search for ProtoPie, and launch it. With your full login frame selected, choose Scene rather than Flattened. Scene preserves your layer hierarchy; Flattened collapses everything into a single image, which makes it impossible to interact with individual elements later.
Click Export. Your layers will appear in ProtoPie exactly as structured in Figma.
💡 Before moving on, rename every layer clearly. Vague names like “Rectangle 14” will cost you time the moment you start wiring interactions.
Step 2: Replace Static Input Fields with Ones That Actually Accept Text
This is the step that separates a realistic prototype from a clickable mockup. ProtoPie’s native Input layer accepts real keyboard input – meaning testers type actual text, not simulated content.
Go to Text → Input and drag an Input layer onto your canvas. Place it inside your username field group in the layer hierarchy, than match it visually to your design:
- Set the placeholder text to Username
- Match the background fill to your field background
- Uncheck Padding if there’s unwanted spacing at the field edge
- Copy the hex code from your original text layer and paste it into the Input layer’s placeholder color, than match the font and size
Preview. Click the field and type. Your username input is now live.
💡 Rename this layer Input Username before duplicating.
Step 3: Mask the Password Field So It Behaves Like a Real App
Duplicate the Input Username and place the copy inside your password field group. Two changes make it a password field:
- Change the placeholder text to Password
- Change the Type from Text to Text Password
Text Password masks typed characters as dots automatically, no customer logic needed.
Preview both fields. Username shows typed text, password shows dots. Exactly what users expect – and exactly what makes this prototype credible in a user testing session.

Step 4: Create the Dashboard Scene Before Wiring Navigation
Add a new scene in ProtoPie. This will become your dashboard, it can be empty at this stage. The important thing is that it exists as a navigation target before you wire the login button.
💡Trying to set up a Jump response without a destination scene is the most common sequencing mistake in early ProtoPie builds.
Ready to build out that dashboard? Tutorial 2 covers the full variable architecture →
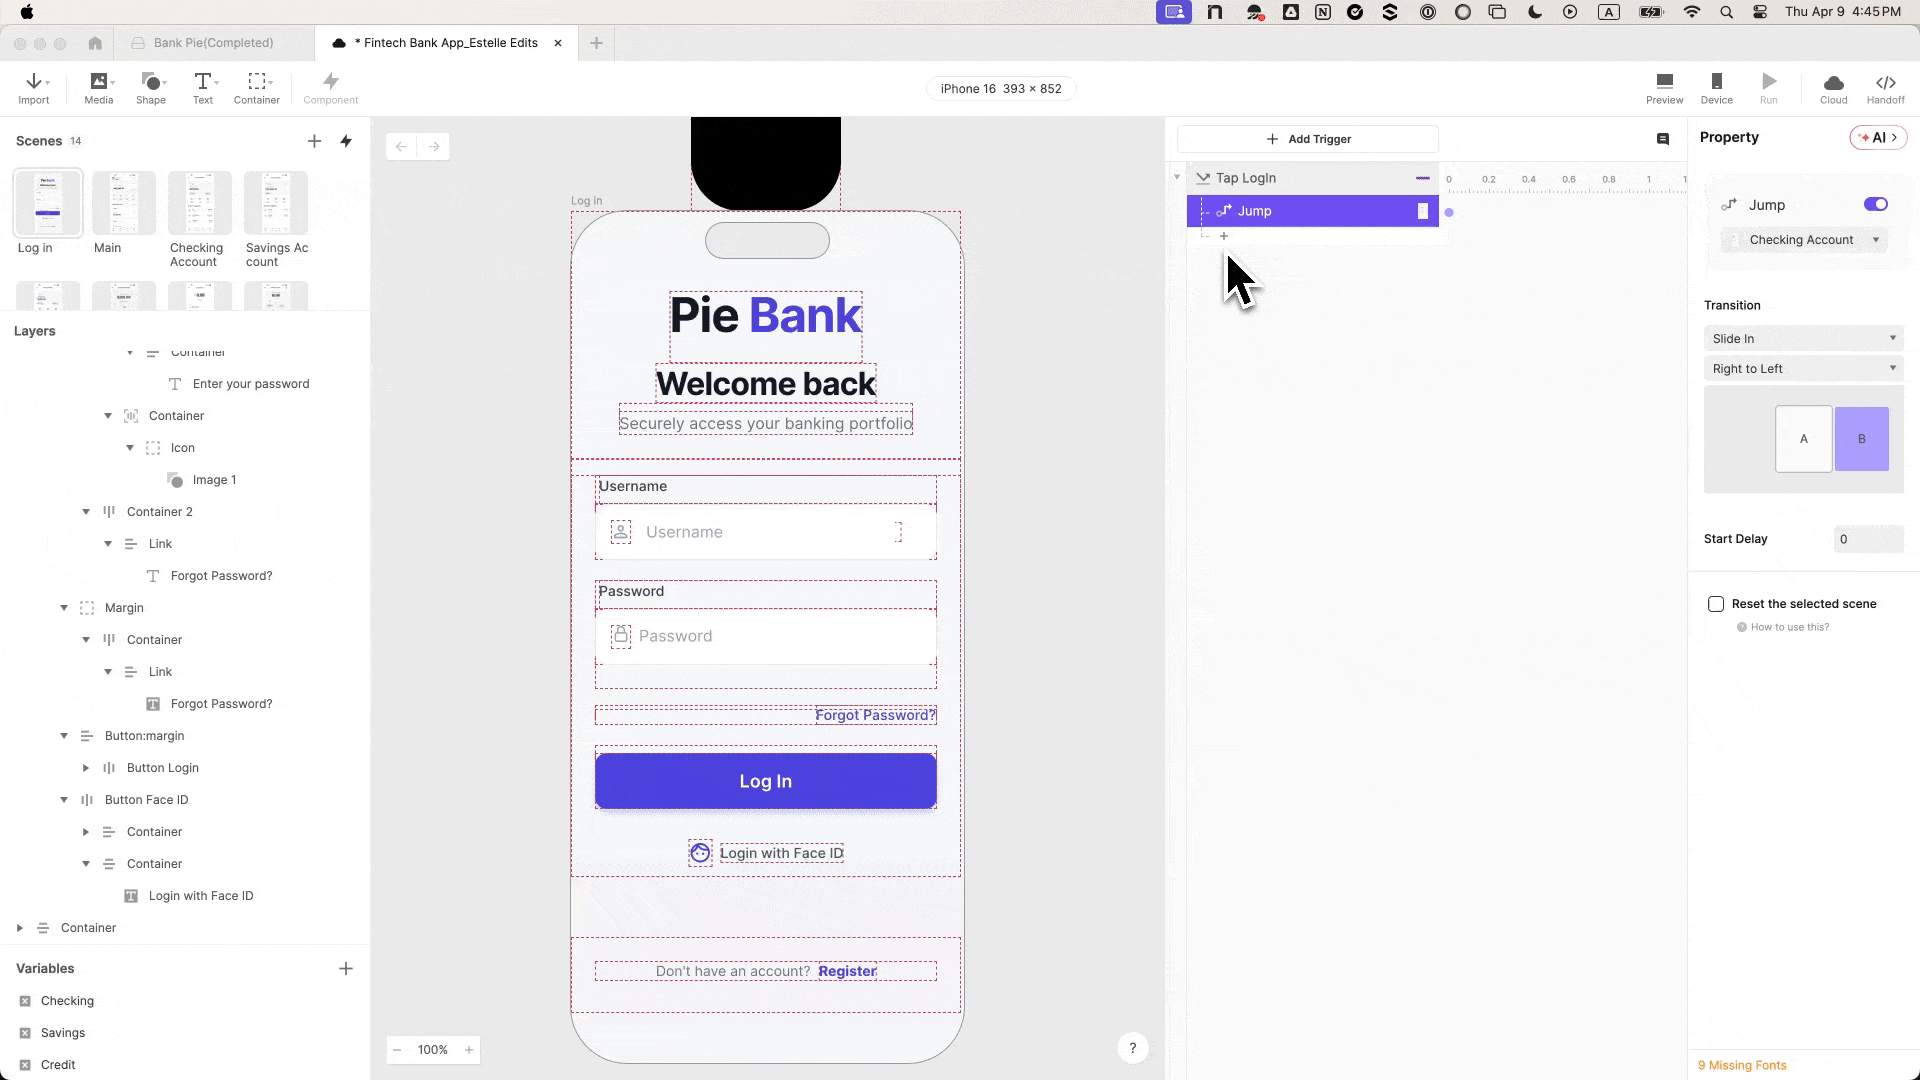
Step 5: Make the Login Button Navigate to the Dashboard
Select your Log In button layer. Add a Tap trigger and set the response to Jump, targeting your dashboard scene, Set the transition to Slide in from right to left for a native app feel.
Preview and tap. The scene changes. The button works, but it works regardless of what’s in the inputs. The next steps fix that.
Step 6: Use Variables to Capture What the User Types
Variables are what give this prototype memory. Without them, the inputs are just visual fields with no connection to the app's logic.
At the bottom left of the ProtoPie interface, add two variables to your login scene. Set both to Text type, which handles letters, numbers, and special characters.
Name them:
- username
- password
Bind each variable to its input layer using a formula. Select the username variable, click Use Formula, and type: input("Input Username").text
Do the same for password: input("Input Password").text
Toggle on the debug icons next to each variable. Green variable overlays will appear on screen showing live variable values as you type. This confirms the binding is working before you build any logic on top of it.
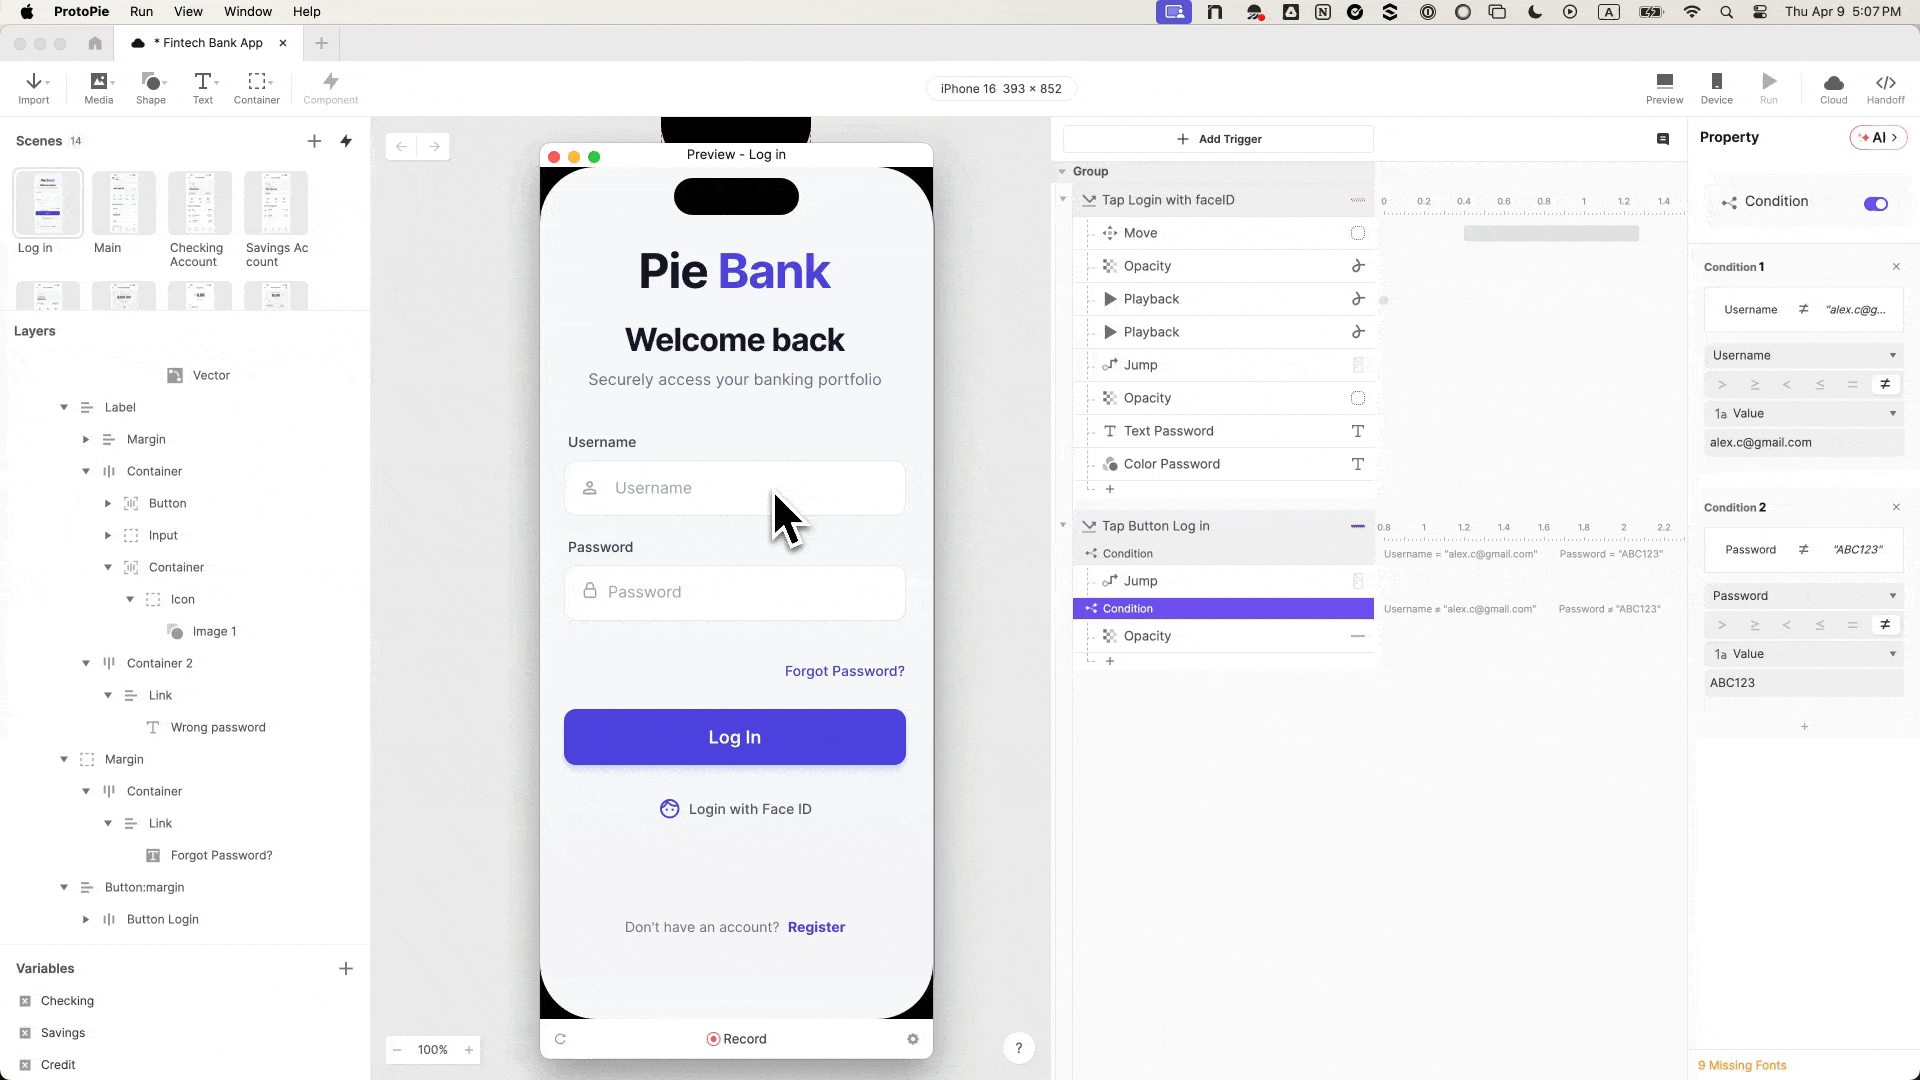
Step 7: Add Conditional Logic So Only Valid Credentials Log In
Go back to the Tap trigger on your login button and add a Condition. Create two conditions that must both be true simultaneously:
- username equals alex.c@gmail.com
- password equals ABC123
Move the Jump response inside this condition block. The scene transition now only fires when both values match exactly. Wrong credentials, wrong email format, or empty fields — none of them get through.
Step 8: Build the Error State for Failed Login Attempts
A login flow without an error state isn't a login flow — it's a one-way door. Find your error message layer, rename it Error Text, and set its opacity to 0 so it's invisible on load.
Add a second condition to the login button trigger, the inverse of the first:
- username is not equal to alex.c@gmail.com
- password is not equal to ABC123
Inside this condition, add a Change Property response targeting Error Text. Set opacity to 100.
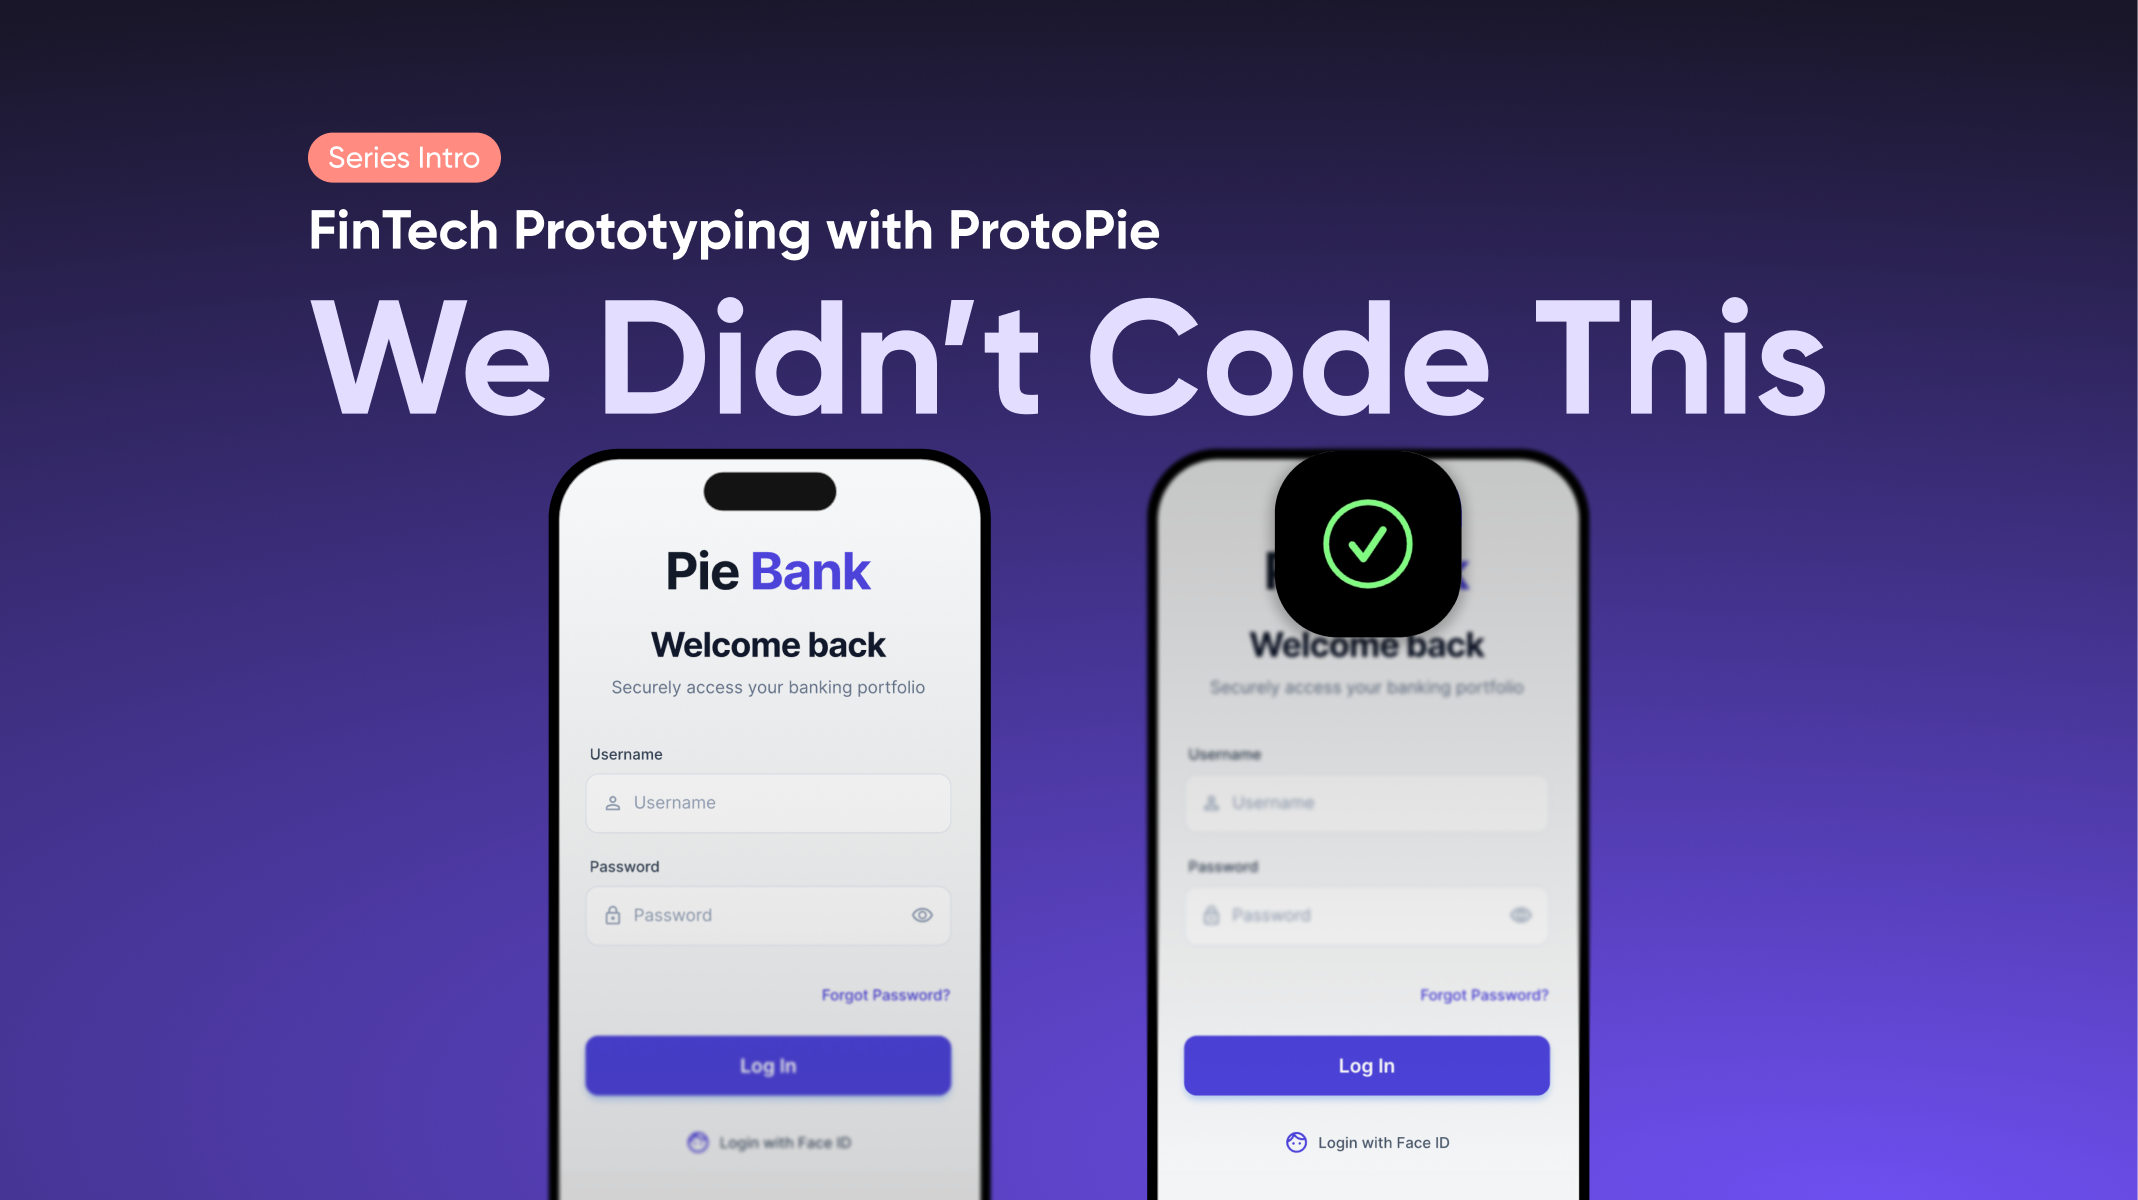
Preview the full flow. Wrong credentials surface the error message. Correct credentials jump to the dashboard. The login now has two distinct outcomes, which is what makes it testable and stakeholder-ready.
Step 9: Add the Face ID Animation – the Detail That Makes This Feel Real
Biometric login is the interaction that makes testers stop and ask if this is a real app. Here's how to build it.
Go to Media and drag a Lottie layer onto your canvas. Load your Face ID Lottie file and position the group above the iPhone frame, off-screen. Note the Y coordinate of where you want it to land — Y: 60 works well as a landing position.
Select your Login with Face ID button and add a Tap trigger. Rename it Tap Face ID to distinguish it from the main login trigger.
Add four responses in sequence:
- Move — target the Lottie container, set Y to 60. This brings it down into view.
- Playback: Seek — target the Lottie file, set time to 0 seconds. This resets the animation so it always plays from the beginning.
- Playback: Play — target the Lottie file.
- Jump — to your dashboard scene, slide in from right to left.
Step 10: Sequence the Timing So the Animation Plays Before the Scene Changes
Without delay settings, all four responses fire simultaneously, the scene jumps before the animation has a chance to play. Use the timeline delay controls to stagger them.
Recommended delays:
- Move: 0s (fires immediately on tap)
- Seek: 0s (fires immediately)
- Play: 0.5s (gives the Move animation time to complete before the Lottie starts)
- Jump: 1s (gives the full Lottie animation time to play out before transitioning)
Check Reset selected scenes on the Jump response. This ensures the Face ID animation returns to its starting position if a user navigates back to the login screen.
Preview the complete flow: tap Login with Face ID, the animation drops in and plays, the screen transitions. That's a biometric login that holds up in front of any stakeholder or test participant.
What This Login Flow Makes Possible
A login that validates real credentials, surfaces a live error state, and simulates biometric authentication doesn't just look impressive. It changes what you can do with the prototype.
Test participants engage with it the way they would a live product. The feedback you collect reflects real behavior, not accommodations for "it's just a demo." Stakeholders experience the authentication flow rather than having it explained to them. And when the logic is this precise, the prototype stops being a visual reference and starts being the specification your engineering team works from.
That's the foundation Pie Bank is built on. In Tutorial 2: The Living Dashboard, we wire the variable architecture that makes every balance in Pie Bank consistent across every screen — and build the logic that makes the numbers actually do math.
Follow Along in ProtoPie
Download the Chapter 1 prototype file – the login scene fully built, every interaction wired. Open it alongside this tutorial to explore how each step fits together, or use it as a reference to check your own build.
Up next in the series Chapter 2: The Living Dashboard Wire real financial logic into your dashboard — variables, live balances, and a net worth formula that actually does the math.
Not on ProtoPie yet?
Not on ProtoPie yet? Start building for free. Everything in this tutorial works on the free plan.
Want to bring this level of prototyping to your team?
If your team is working on complex product experiences and needs to prototype at this fidelity, our Creative Technologists work directly with design teams to get there faster.
.png?fm=webp)
