How to Wire a FinTech Dashboard with Variables and Real Financial Logic in ProtoPie
Tutorial 2 of 4 — FinTech Prototyping with ProtoPie


This is Tutorial 2 of 4 in the FinTech Prototyping with ProtoPie series. Each chapter stands alone — no need to follow in order.
In fintech prototyping, wrong numbers stop the session. A balance that doesn't match between the dashboard and the account detail screen is enough for a participant to flag it, disengage, and shift from testing the product to evaluating the prototype.
A static dashboard, hardcoded, disconnected, no shared state, creates exactly that problem.
This tutorial fixes it. Every balance in Pie Bank is stored in a variable. The dashboard calculates total net worth in real time. Every account scene pulls from the same source. Change a value once, everything updates.
Prefer to learn by watching? The full tutorial video walks you through every step in real time.
What you’ll need:
- The Pie Bank Chapter 1 file, or your own FinTech UI with a home dashboard and account scenes
- Your dashboard and account screens imported from Figma into ProtoPie
- ProtoPie Studio desktop app
Prefer to explore a finished build first? The Chapter 2 prototype file is available to download at the end of this tutorial.
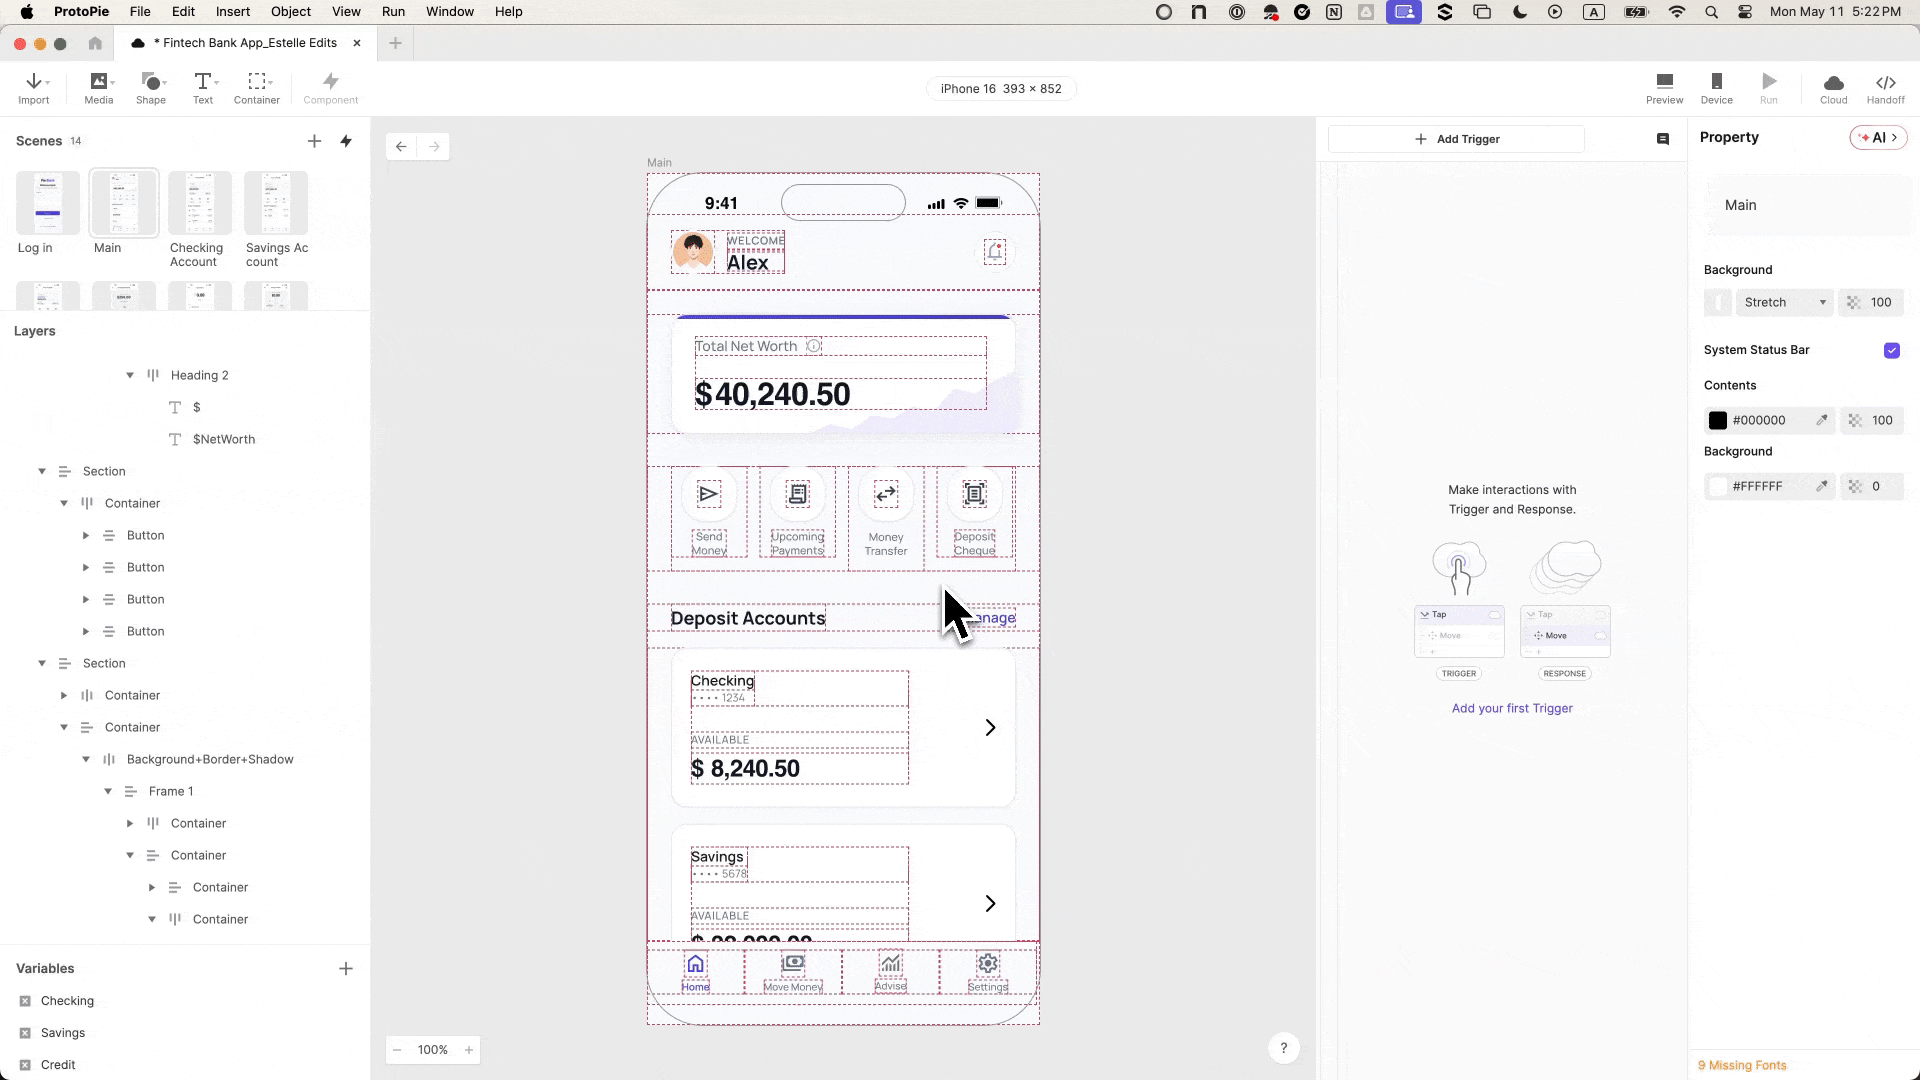
Step 1: Import Your FinTech Dashboard Scenes and Clean Up After Chapter 1
In Figma, select your dashboard and account frames, open the ProtoPie plugin, choose Scene, and export, same process as Chapter 1.
Once imported:
- Delete the leftover placeholder dashboard scene from the previous tutorial
- Expect the jump interactions that pointed to it to break — you'll rewire them in Step 2
- Rename every scene clearly before moving on: Home, Account/Checking, Account/Savings, Account/Visa
💡 Vague scene names like "Scene 4" become a problem the moment you're selecting jump targets from a dropdown list. Name them now.
Step 2: Wire the Banking App Navigation Between Dashboard and Account Screens
Each of the three deposit account cards on the home dashboard needs a tap interaction that jumps to its scene. Do this for Checking, Savings, and Visa:
- Select the account card group
- Add a Tap trigger → Jump response
- Set the target scene (Checking / Savings / Visa)
- Set the transition: Slide in from right to left
- Rename the interaction: Tap Checking, Tap Savings, Tap Visa
💡 Test each jump immediately after wiring it. If a navigation breaks later, you'll know it's a variable issue — not a wiring issue.
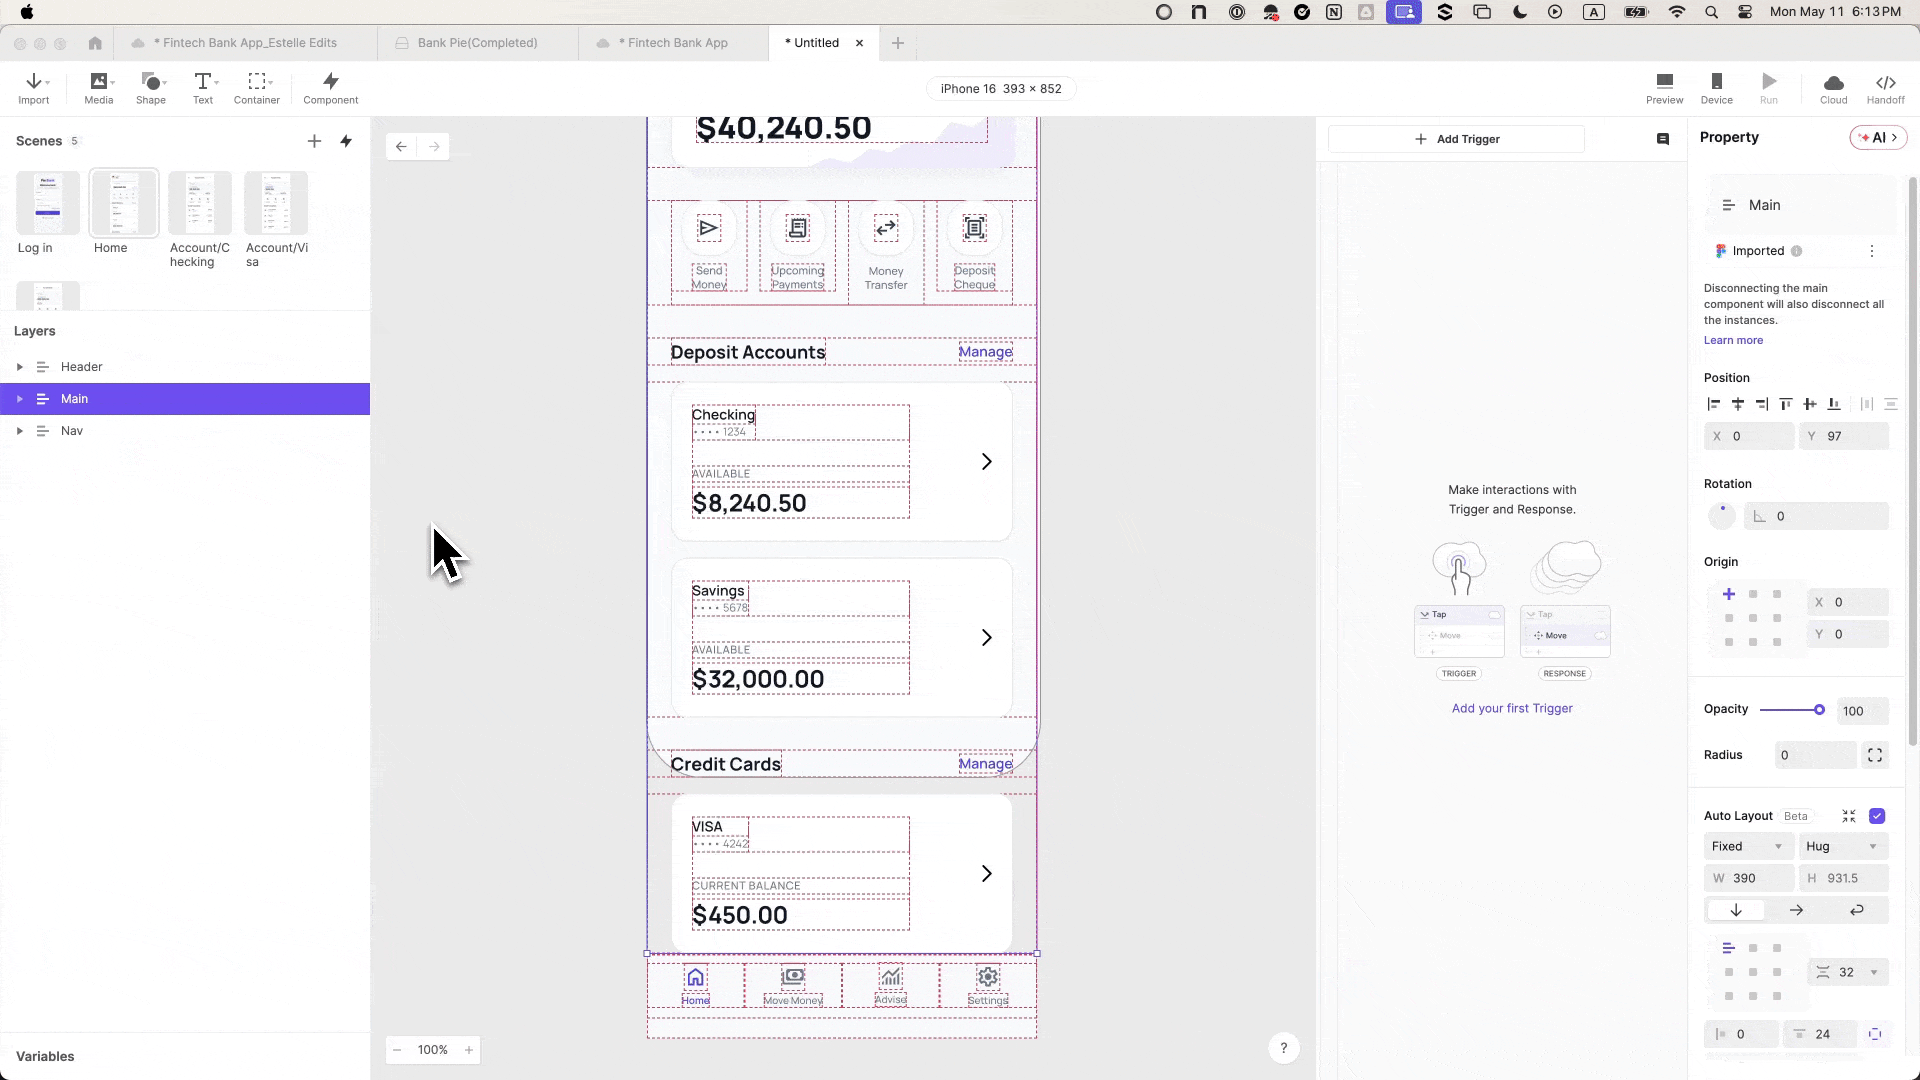
Step 3: Build a Scrollable Dashboard with a Fixed Navigation Bar
The dashboard has three layers: header, main content, and a bottom nav bar. The nav stays fixed; everything above it scrolls.
- Bring the nav bar layer to the front so it renders above scroll content
- Select the header and main content layers → group them → name the group Scroll
- With the Scroll group selected, drag the bottom border up to sit just above the nav bar
- In the properties panel: enable Clip Inner Layers
- Add a Scroll interaction → direction: Top to Bottom
Preview. The content scrolls, the nav bar stays put. That's the fixed-nav behavior users expect from a premium finance app, and what keeps testers navigating naturally without breaking flow.
Step 4: Create the ProtoPie Variable Architecture That Powers the FinTech Dashboard
This is the step that separates a static fintech prototyping exercise from a dashboard that actually behaves like a product.
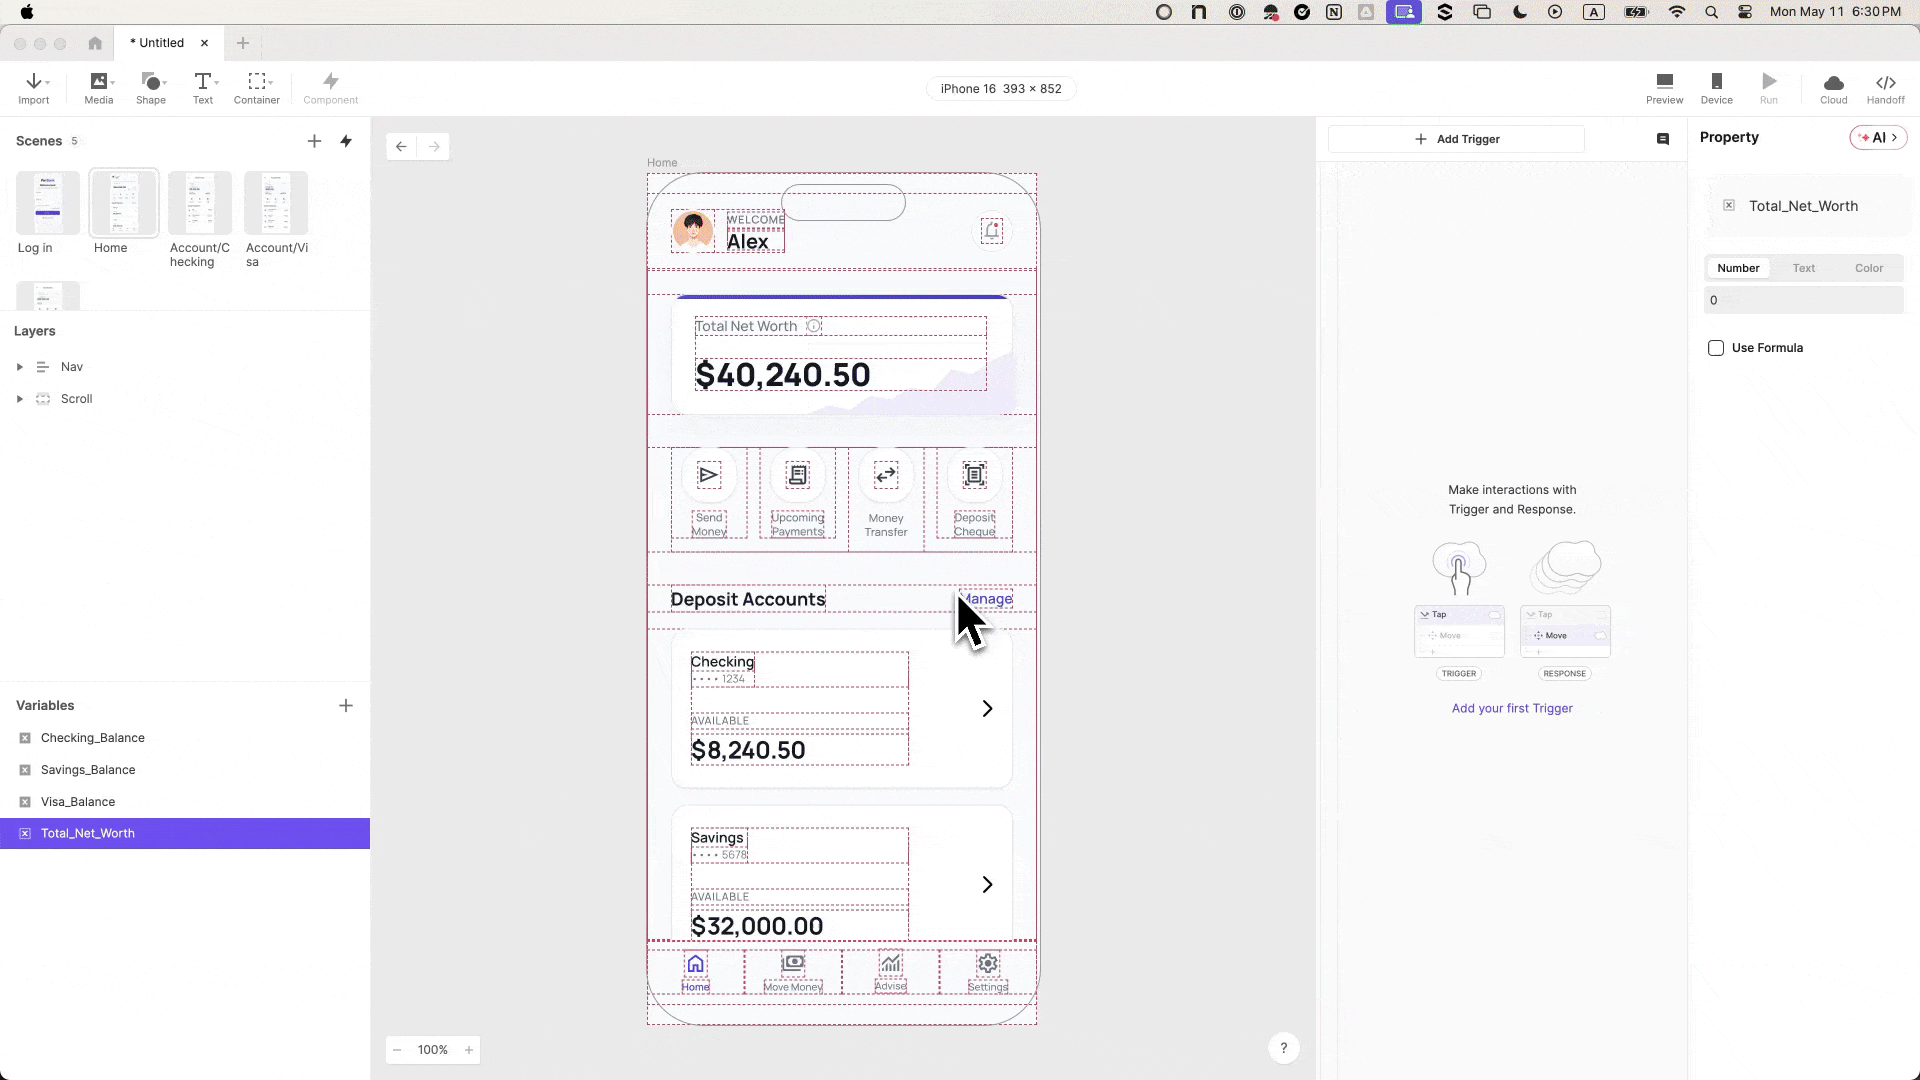
Open the variables panel at the bottom left of ProtoPie Studio. Create four variables:
1 local variable — home scene only:
- Name:
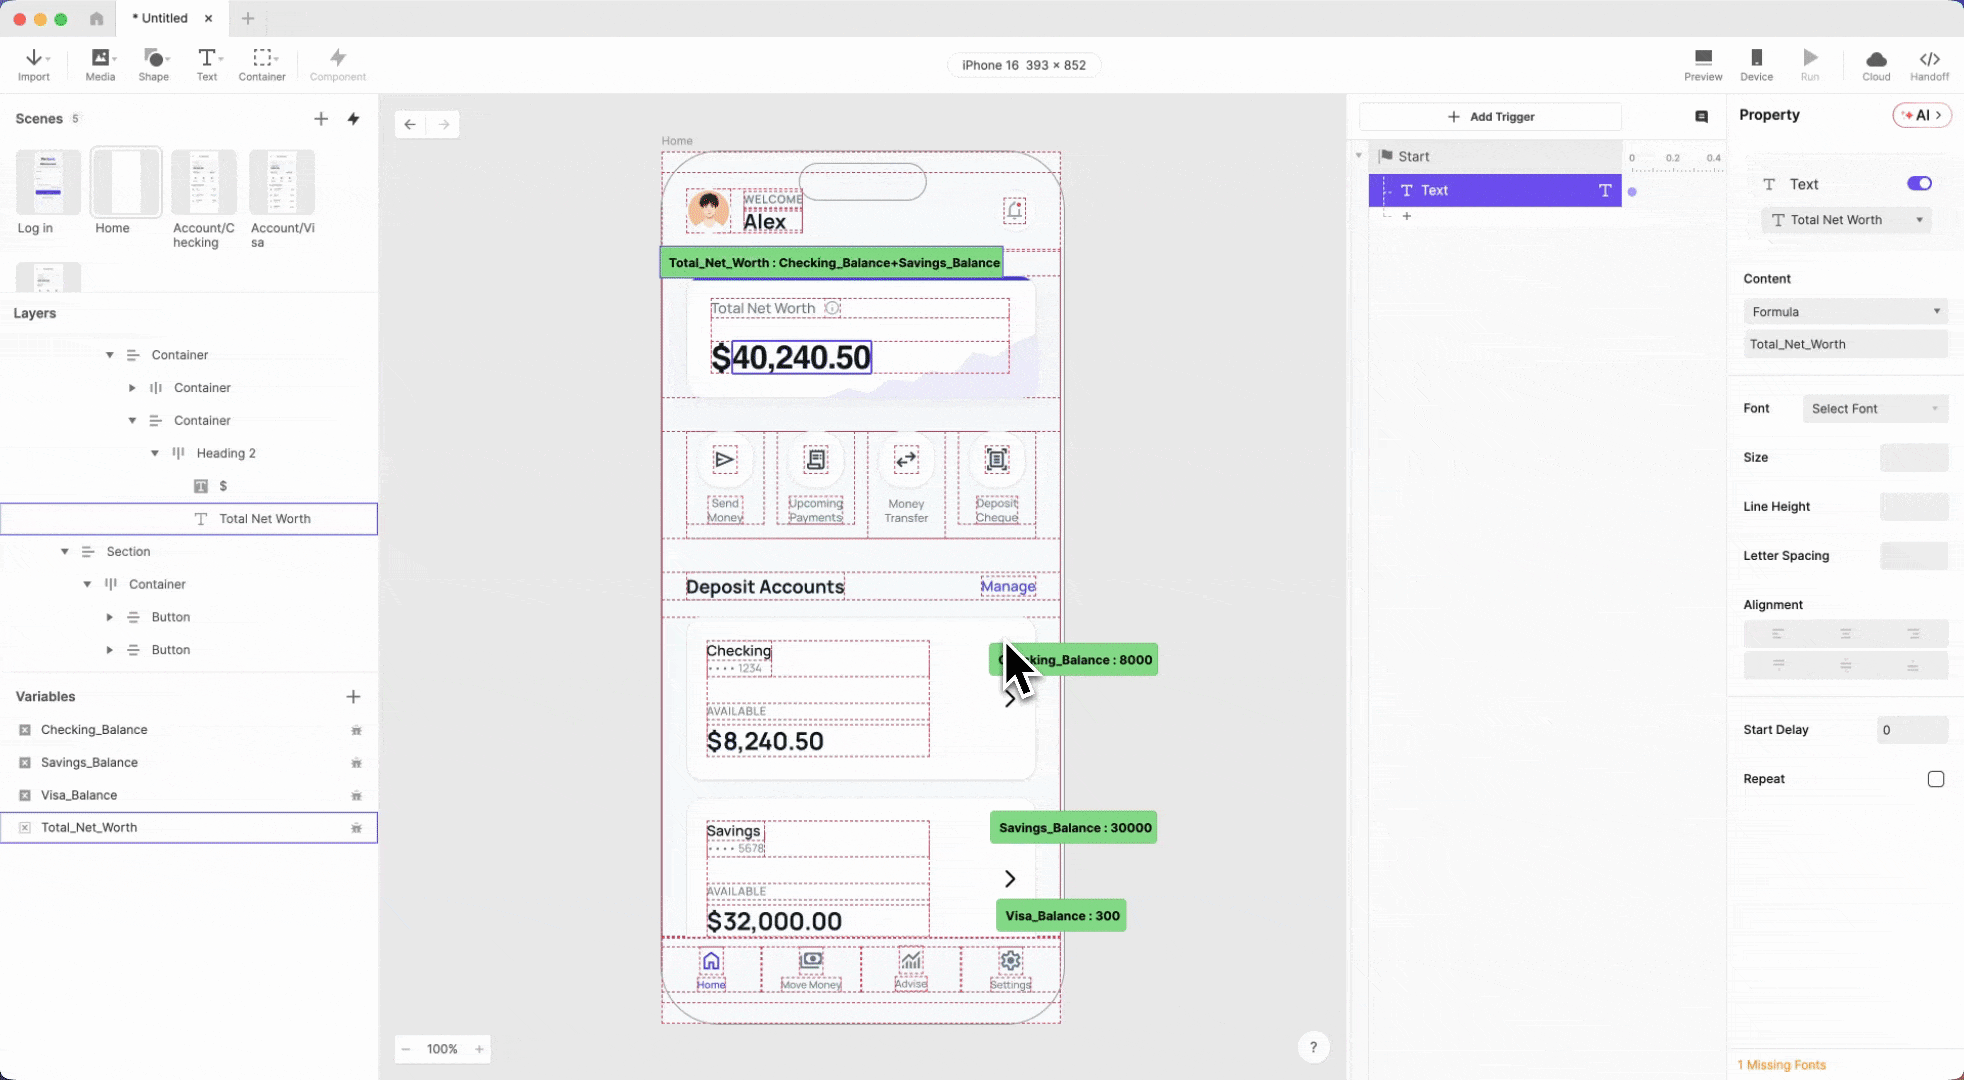
total_net_worth· Type: Number · Default: 0 · Scope: This Scene
Total net worth is a calculated value that only lives on the home screen — it doesn't need to follow the user into account detail scenes.
3 global variables — available across all scenes:
checking_balance· Type: Number · Default: 0 · Scope: For All Scenessavings_balance· Type: Number · Default: 0 · Scope: For All Scenesvisa_balance· Type: Number · Default: 0 · Scope: For All Scenes
Global variables are the shared memory of your prototype. Any scene can read them — which is exactly what you need when the same balance has to appear on both the dashboard card and the account detail screen.
💡 Variable names can't contain spaces. Use underscores: checking_balance not checking balance. ProtoPie will flag the error, but better to get it right the first time.

Step 5: Assign Balance Values and Write the Real-Time Net Worth Formula
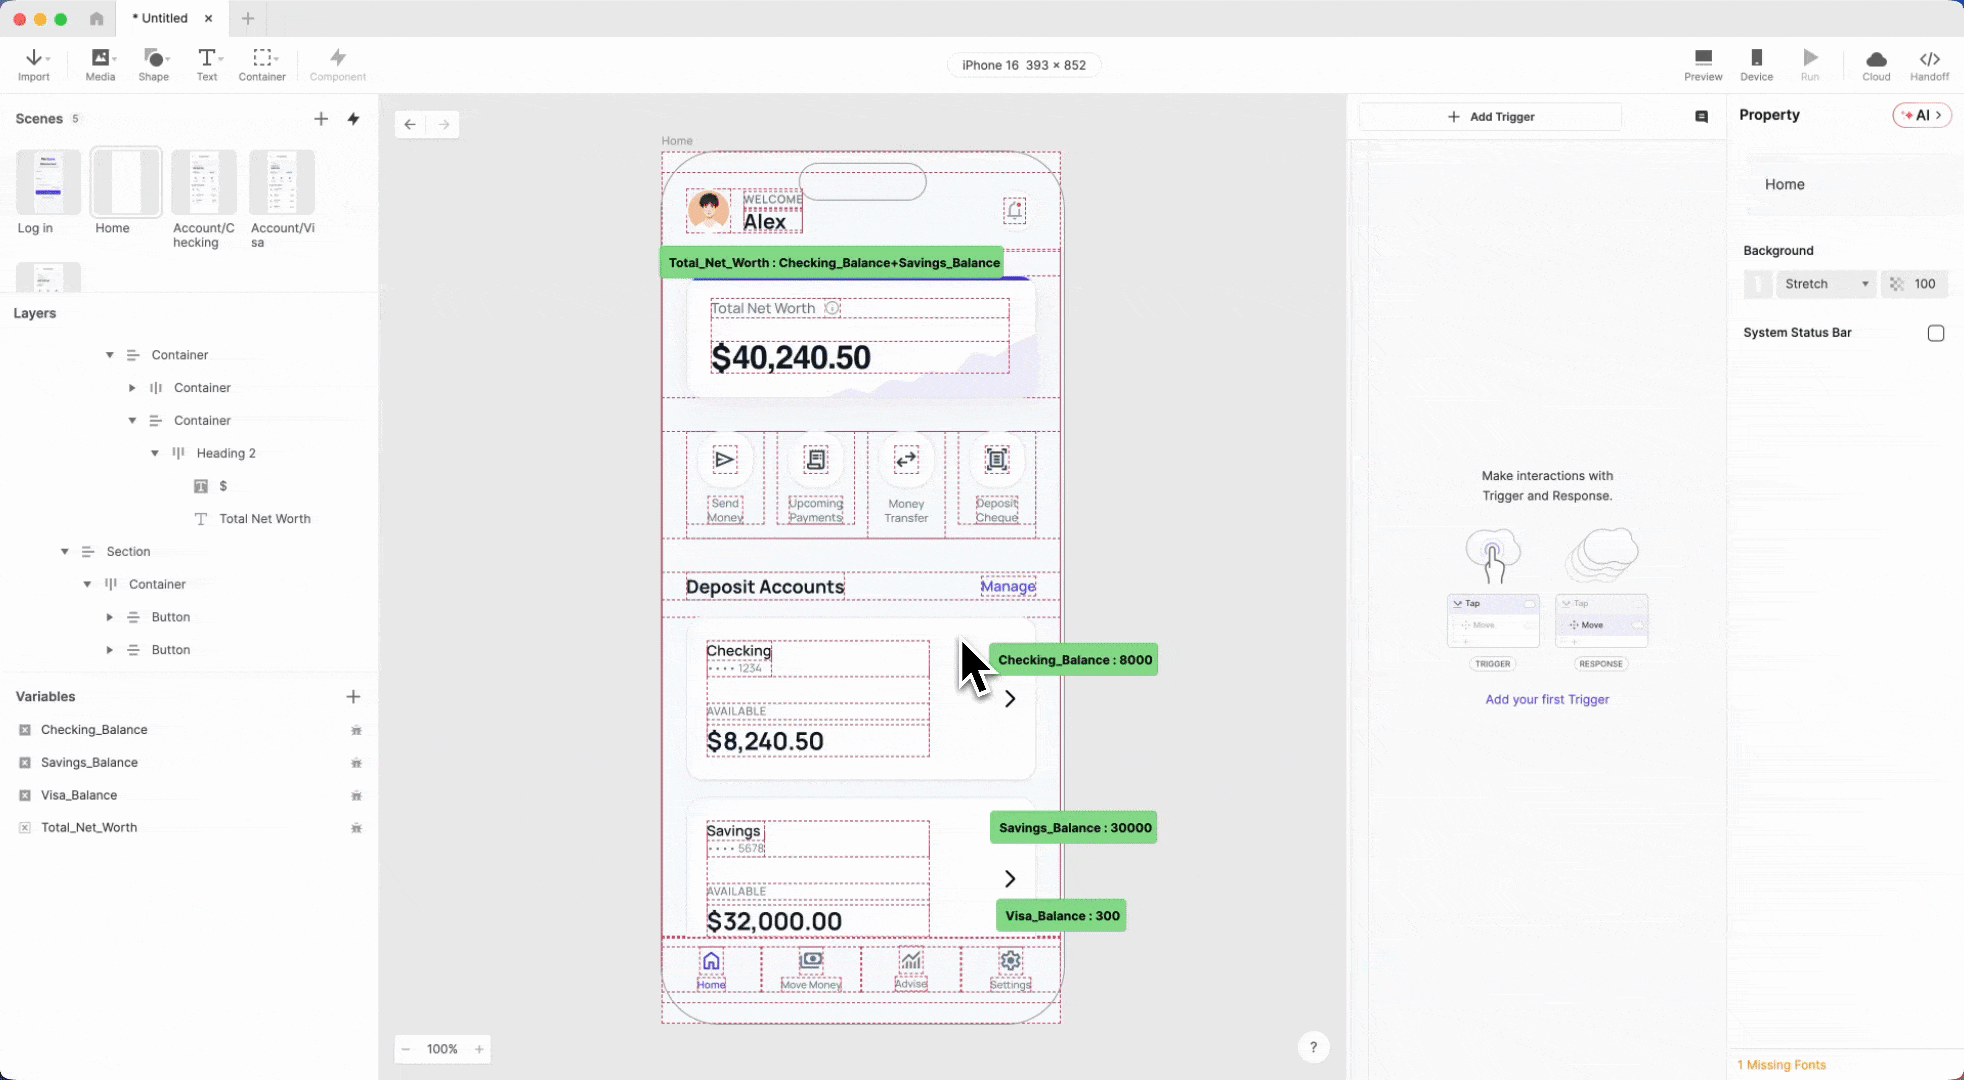
Set realistic starting values for the three global variables:
checking_balance→ 8000savings_balance→ 30000visa_balance→ 300
For total_net_worth, skip the static value and wire a formula instead:
- Select
total_net_worth→ enable Use Formula - Enter:
checking_balance + savings_balance
Visa is excluded intentionally. Credit card debt doesn't contribute to net worth — it's a liability, not an asset. Fintech stakeholders and test participants with a finance background notice when this logic is wrong. Getting it right is the difference between a prototype that earns trust in the room and one that derails into a debate about the numbers.
Before connecting anything to text layers, verify the formula is working:
- Enable the debug icons next to each variable
- Green overlays will appear on the canvas with live values
- Confirm
total_net_worthreads 38000 (checking + savings)
Step 6: Connect ProtoPie Variables to Dashboard Text Layers with a Start Trigger
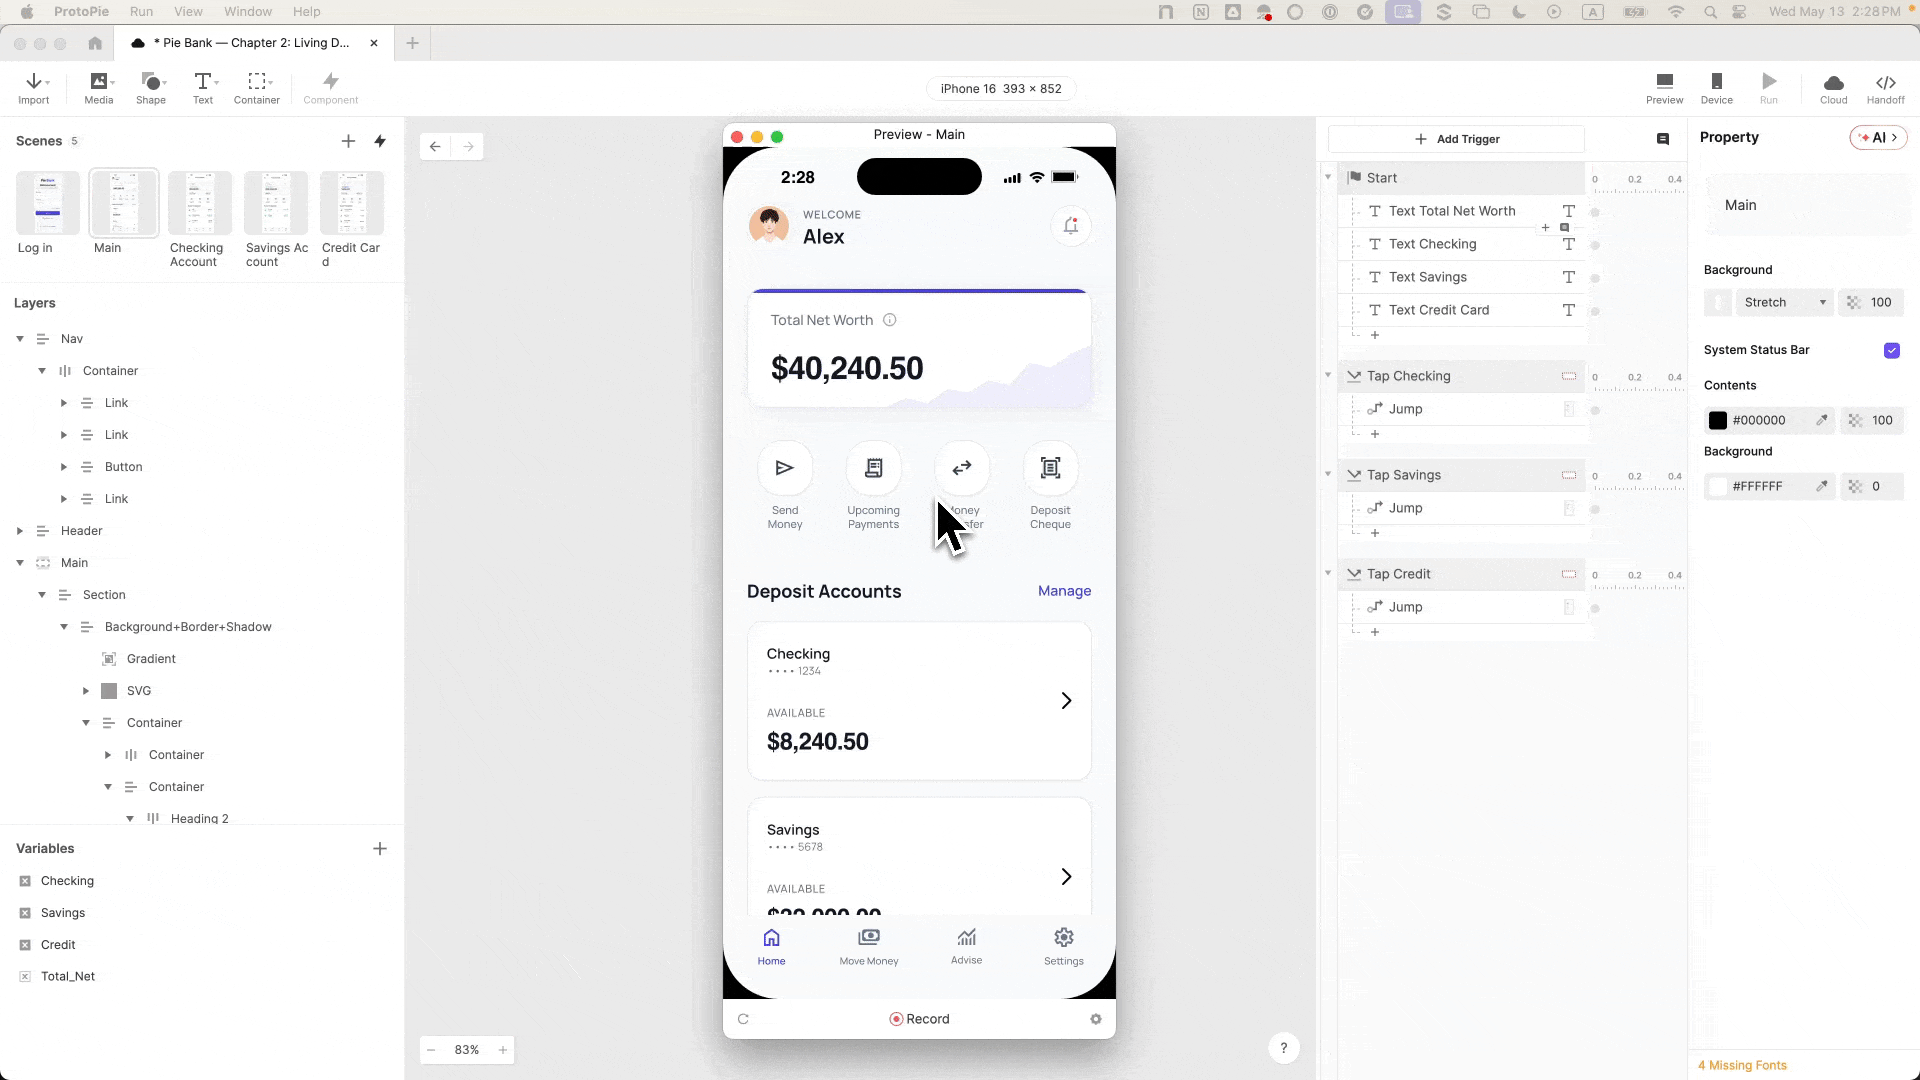
Variables live in memory. Text layers live on screen. A Start trigger bridges the two — it fires automatically when the scene loads, before the user sees anything.
Set up the Start trigger on the home scene:
- Select the home scene → add a Start trigger
- Enable Jump Restart — this re-fires the trigger every time the user navigates back to the dashboard, keeping values current
Connect the total net worth text layer:
- Add a Text response
- Mark the total net worth layer as Editable in layer properties (required before it becomes selectable)
- Select the total net worth text layer as the target
- Set content to Formula → enter:
total_net_worth
The dashboard now shows 38000 — but financial apps display formatted currency, not raw numbers. Update the formula:
- Replace with:
format(total_net_worth, "###,##0.00") - Preview → the value now renders as 38,000.00
Repeat for the three account balance layers — add a Text response for each, mark as Editable, set Formula, apply the same format wrapper with the matching variable name:
format(checking_balance, "###,##0.00")format(savings_balance, "###,##0.00")format(visa_balance, "###,##0.00")
💡 Copy the format string after the first use. Retyping "###,##0.00" four times is where typos happen.
Step 7: Replicate the Variable Logic Across All Three Account Scenes
The home dashboard is wired. Now replicate the pattern across Checking, Savings, and Visa.
For each account scene:
- Add a Start trigger → enable Jump Restart
- Copy the relevant Text response from the home scene's Start trigger
- Paste it into this scene, make the balance text layer Editable, and reconnect it
- Add a Tap trigger on the back button → Jump to Home → transition: Slide in from left to right
Once all three scenes are done, run the full preview flow:
- Land on the dashboard — confirm all four balances display correctly
- Tap into Checking — confirm the balance matches the dashboard card
- Tap back — confirm the dashboard still shows the correct values
- Repeat for Savings and Visa
The numbers match because they come from the same variable. That consistency is what makes this prototype behave like a real app — and what makes it a trustworthy specification for your engineering team.
What This FinTech Dashboard Prototype Makes Possible
A variables-based dashboard changes what the prototype can do — not just how it looks.
Fintech designers need hyper-realism at one specific moment: presenting a new B2C product to leadership. Static screens don't convey complex financial flows. A dashboard that reacts does. And because the balances are stored as variables, Chapter 3's money transfer flow can subtract from checking_balance, add to savings_balance, and every screen updates automatically. The math works. The state holds.
Test participants stop treating it as a demo. Stakeholders stop asking hypotheticals. Engineering gets a specification they can actually build from. This is the standard every fintech prototyping team should be building toward.
In Tutorial 3, we wire the money transfer flow, dynamic input, live math, and a slide-to-send interaction built on the exact same variables you just set up.
Follow Along in ProtoPie
Download the Chapter 2 prototype file – the full dashboard wired, variables set, all three account scenes connected. Open it alongside this tutorial to explore how each step fits together, or use it as a reference to check your own build.
Not on ProtoPie yet?
Not on ProtoPie yet? Start building for free. Everything in this tutorial works on the free plan.
Want to bring this level of prototyping to your team?
If your team is working on complex product experiences and needs to prototype at this fidelity, our Creative Technologists work directly with design teams to get there faster.
.png?fm=webp)
